Baldur's Gate 3 - How to free True Soul Nere from the cave-in
Table of Contents
In the treacherous depths of the Underdark, where the echoes of ancient civilizations resonate through winding tunnels, an urgent quest beckons the intrepid adventurers of Baldur’s Gate 3. Trapped behind a formidable cave-in, the enigmatic True Soul Nere finds himself ensnared, his life hanging by a thread as the insidious tendrils of poison linger in the stale air. Yet, this perilous predicament holds the key to unlocking the path to the elusive Moonrise Towers, a crucial milestone in your epic journey.
The Gravity of the Situation
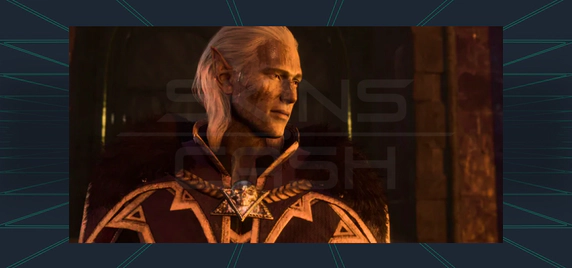 As you navigate the labyrinthine corridors of the Grymforge, a grim realization dawns upon you – Nere’s fate is inextricably linked to your own. Hailed as one of the Absolute’s True Souls, his survival is not merely a matter of compassion but a strategic imperative. Acquiring his coveted moonlantern could pave the way to your ultimate destination, while the mushroom-dwelling Myconid Colony beckons with the promise of a tantalizing reward should you present them with Nere’s severed head.
A Race Against Time
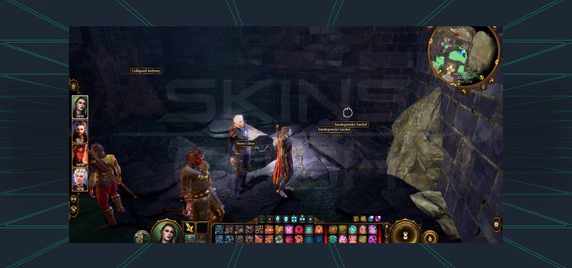 The urgency of the situation is palpable, for the relentless march of time threatens to seal Nere’s fate. As your journal grimly reminds you, each passing moment brings him and the entrapped gnomes closer to succumbing to the deadly embrace of poison. The weight of their lives rests upon your shoulders, and the allure of inaction – allowing the situation to unfold without intervention – is a tempting yet grim path.
Explosive Solutions: Clearing the Rubble
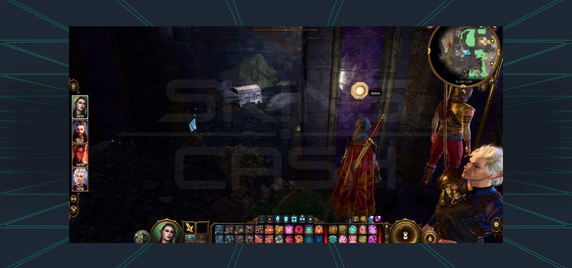 Should you choose to embark on the quest to liberate Nere, the path forward is fraught with challenges. Explosives are the key to breaching the unyielding barrier, and two distinct avenues present themselves, each with its own set of obstacles and rewards.
The Smokepowder Satchels: A Hidden Treasure
 For those seeking a more expedient solution, the Grymforge harbors a well-guarded secret. Behind an unassuming metal door, nestled in the shadows of the docks, lies a dark hallway that conceals a cache of smokepowder satchels. Whether through a keen eye for detail or the ability to traverse confined spaces, these potent explosives await the intrepid explorer willing to delve into the unknown.
Philomeen’s Runepowder: A Gnome’s Betrayal
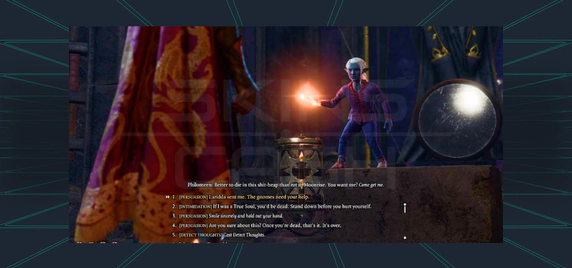 Whispers echo through the Abandoned Refuge, speaking of a renegade gnome worker who absconded with a stash of volatile runepowder. This trail leads you to Philomeen, a figure shrouded in mystery and intrigue. Two paths diverge before you – the first, a gauntlet of locked doors and cunning persuasion, where you must convince the steadfast Brathwen and Viss to abandon their grim vigil. The second, a perilous descent from the upper reaches of Grymforge, where the roar of ochre jellies punctuates the stillness.
Philomeen’s lair lies beyond an intricate door, guarded by lock and key. Here, you must choose between the path of diplomacy, employing your silver tongue to coax a vial of runepowder from her grasp, or the path of conflict, where steel and sorcery clash in a bid to claim the entire barrel.
The Fateful Encounter: Nere Unbound
With the rubble cleared and Nere liberated from his stony prison, a pivotal moment arises. The weight of choice bears down upon you, for you must align yourself with either the enigmatic True Soul or the defiant duergar rebels. The decision is not merely a matter of allegiance but a reflection of your moral compass, for Nere’s actions paint him as a villain, a tyrant who revels in the suffering of the enslaved gnomes.
Should you choose to slay Nere, a bounty of rewards awaits – a dagger imbued with mystical power, a sword that whispers with psychic energy, a pair of boots that grant the ability to step through the mists, and a broken moonlantern, a tantalizing promise of what lies ahead. Yet, the true prize lies in the severed head itself, for presenting it to the Sovereign Spaw of the Myconid Colony yields an amulet that amplifies your persuasive prowess.
The Battle for Survival
If combat is the path you choose, the aid of Elder Brithvar and his duergar cohorts can tip the scales in your favor. With their steel at your back, the clash against Nere and his Absolute novices becomes a true test of strategy and skill. Beware the treacherous lava pools that dot the battlefield, for enemies will seek to cast you into their searing embrace, and turn their own tactics against them, employing the power of eldritch blasts or the timeless art of the shove to send them tumbling into the molten depths.
The Aftermath: Choices and Consequences
As the dust settles and the echoes of battle fade, the weight of your choices becomes evident. Nere’s fate, whether spared or ended, reverberates through the narrative, shaping the path that lies ahead. The moonlantern, a broken promise or a gateway to new horizons, remains a constant reminder of the decisions that have led you to this point.
In the end, the journey through the Underdark is not merely a test of martial prowess but a crucible that forges the mettle of your character, where each choice carries the weight of consequence, and the path to the Moonrise Towers is paved with the echoes of the past and the promise of the future.


